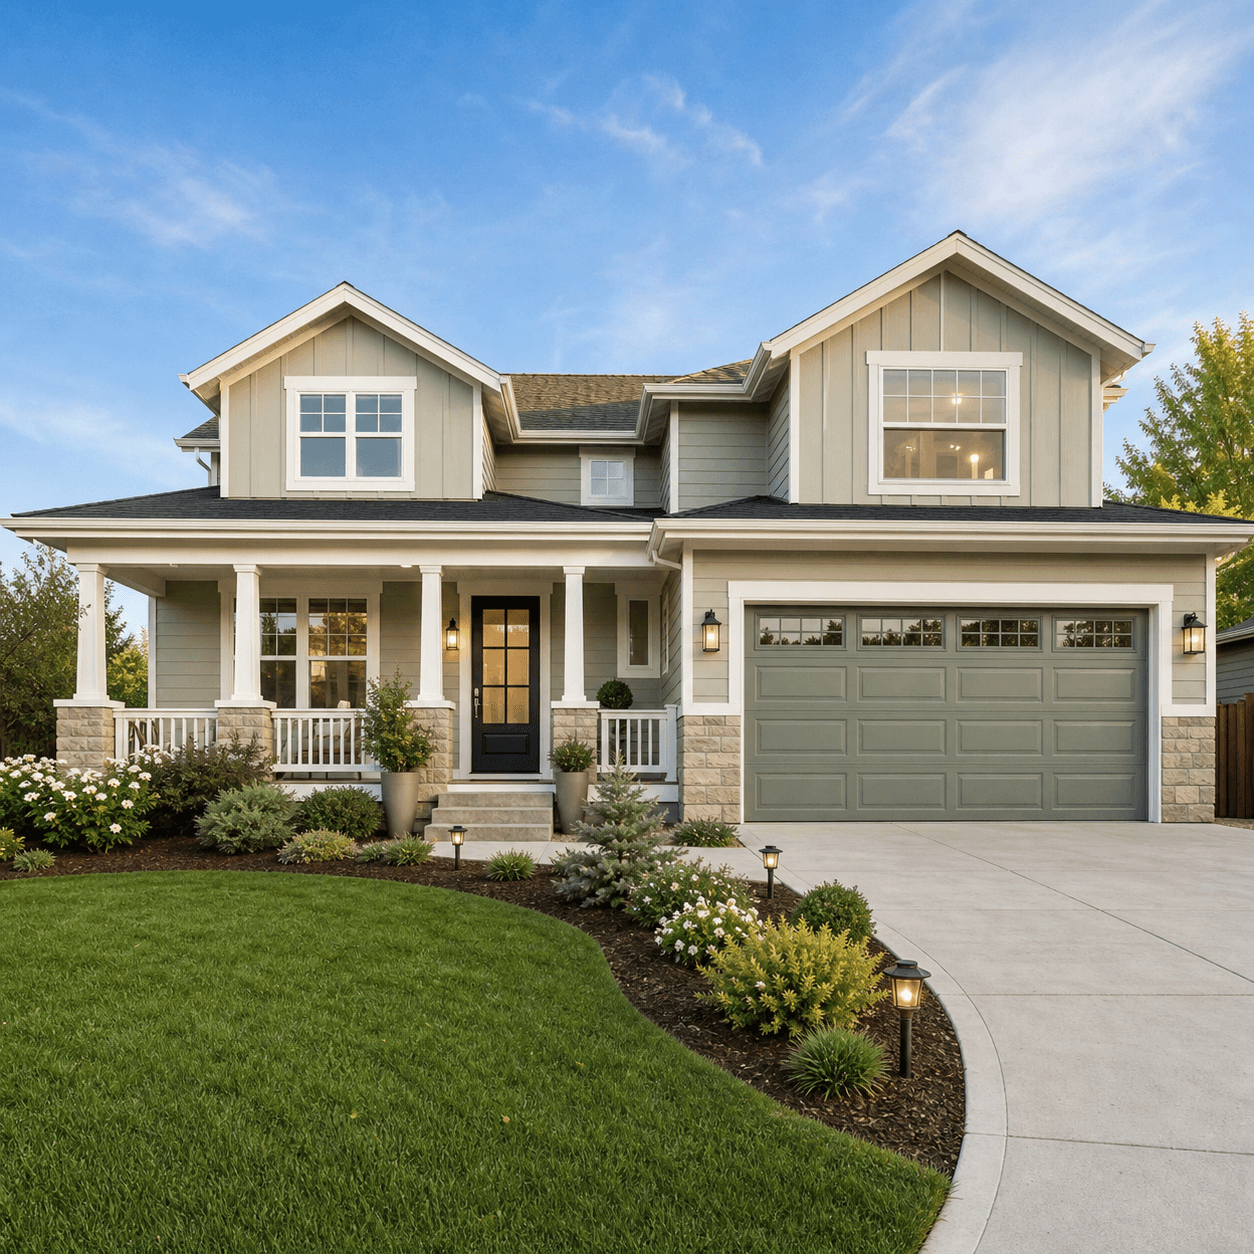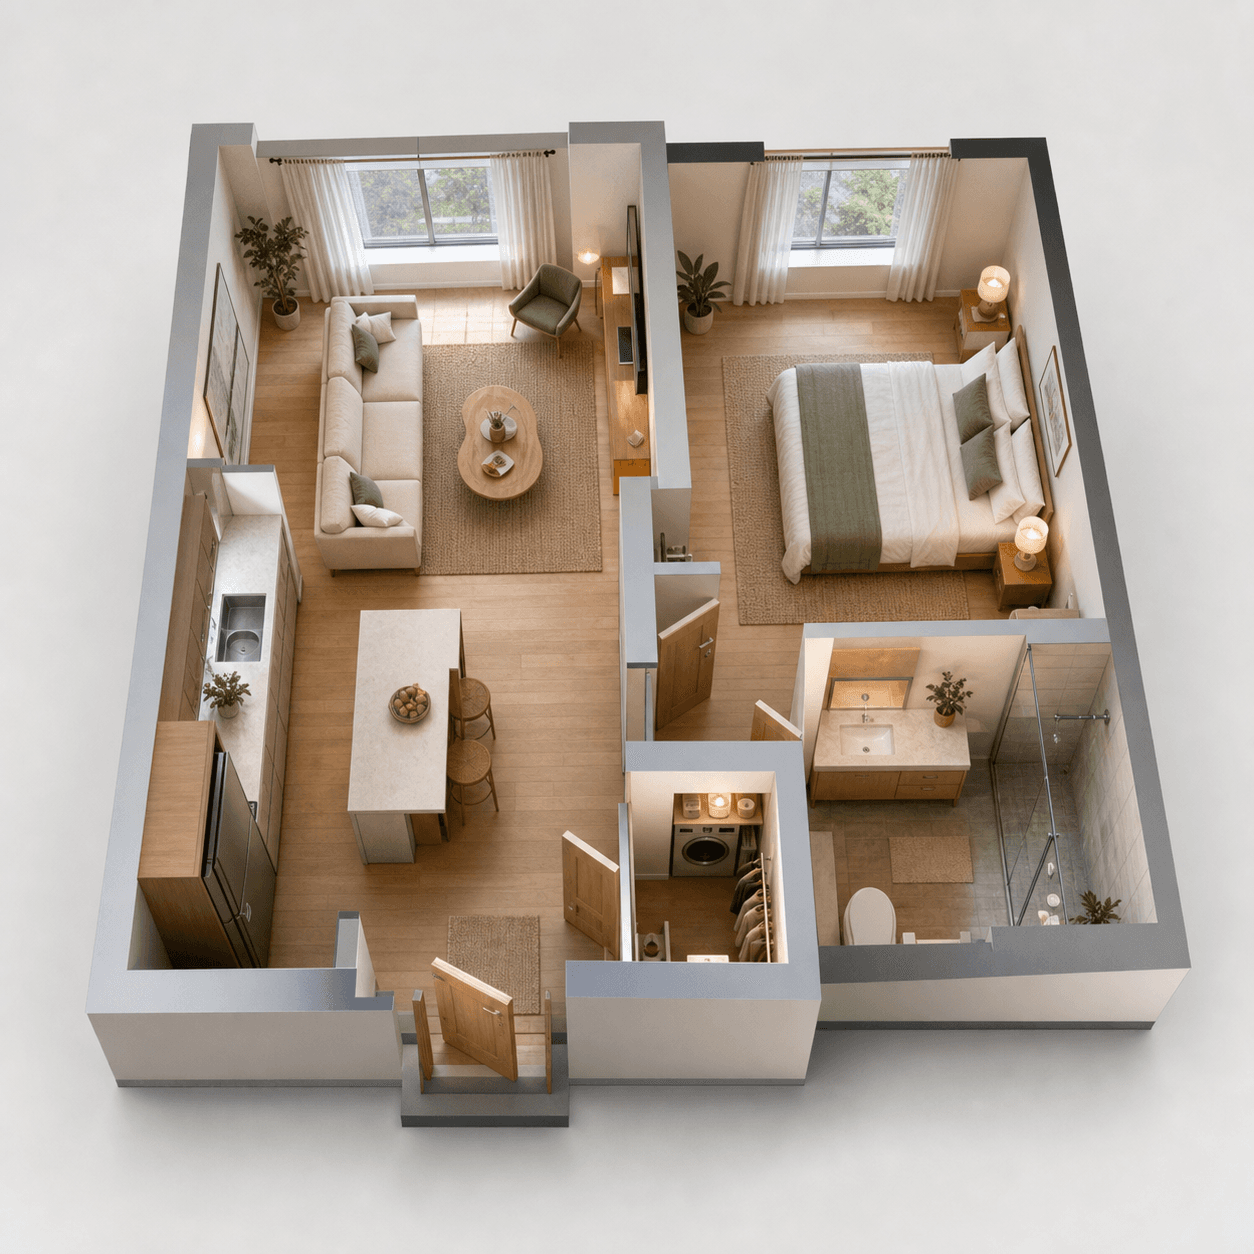
A listing should not disappear into one MLS upload and a single social post. The photos, property facts, and local context can become a focused campaign—if the campaign begins with one approved story instead of twelve disconnected tasks.
Start with one approved story
Choose the one buyer need the home meets best. It could be an outdoor-living story, a first-home story, a downsizing story, a work-from-home story, or a location-and-lifestyle story. Confirm facts with the listing agent, collect the approved assets, and write a short brief before designing anything.
That brief becomes the common source for every asset below. It also gives the compliance reviewer one place to confirm facts, photo rights, fair-housing language, and any virtual-staging disclosures.
The 12-asset listing checklist
- Hero listing reel: a 12–25 second vertical story with one strong hook.
- MLS or listing-page video: a wide version with accurate context and required disclosures.
- Just-listed carousel: five to eight images that explain the home at a glance.
- Open-house Reel or Story: a timely invitation that can be updated when the schedule changes.
- Open-house graphic: a simple, readable date/time/location card.
- Seller-ready feature sheet: the verified highlights and launch plan in one place.
- Email announcement: subject line, hero image, three details, and a tour link.
- Buyer follow-up: a personal note for clients whose requirements fit the property.
- Neighbourhood post: a separate, accurate story about nearby amenities or local context.
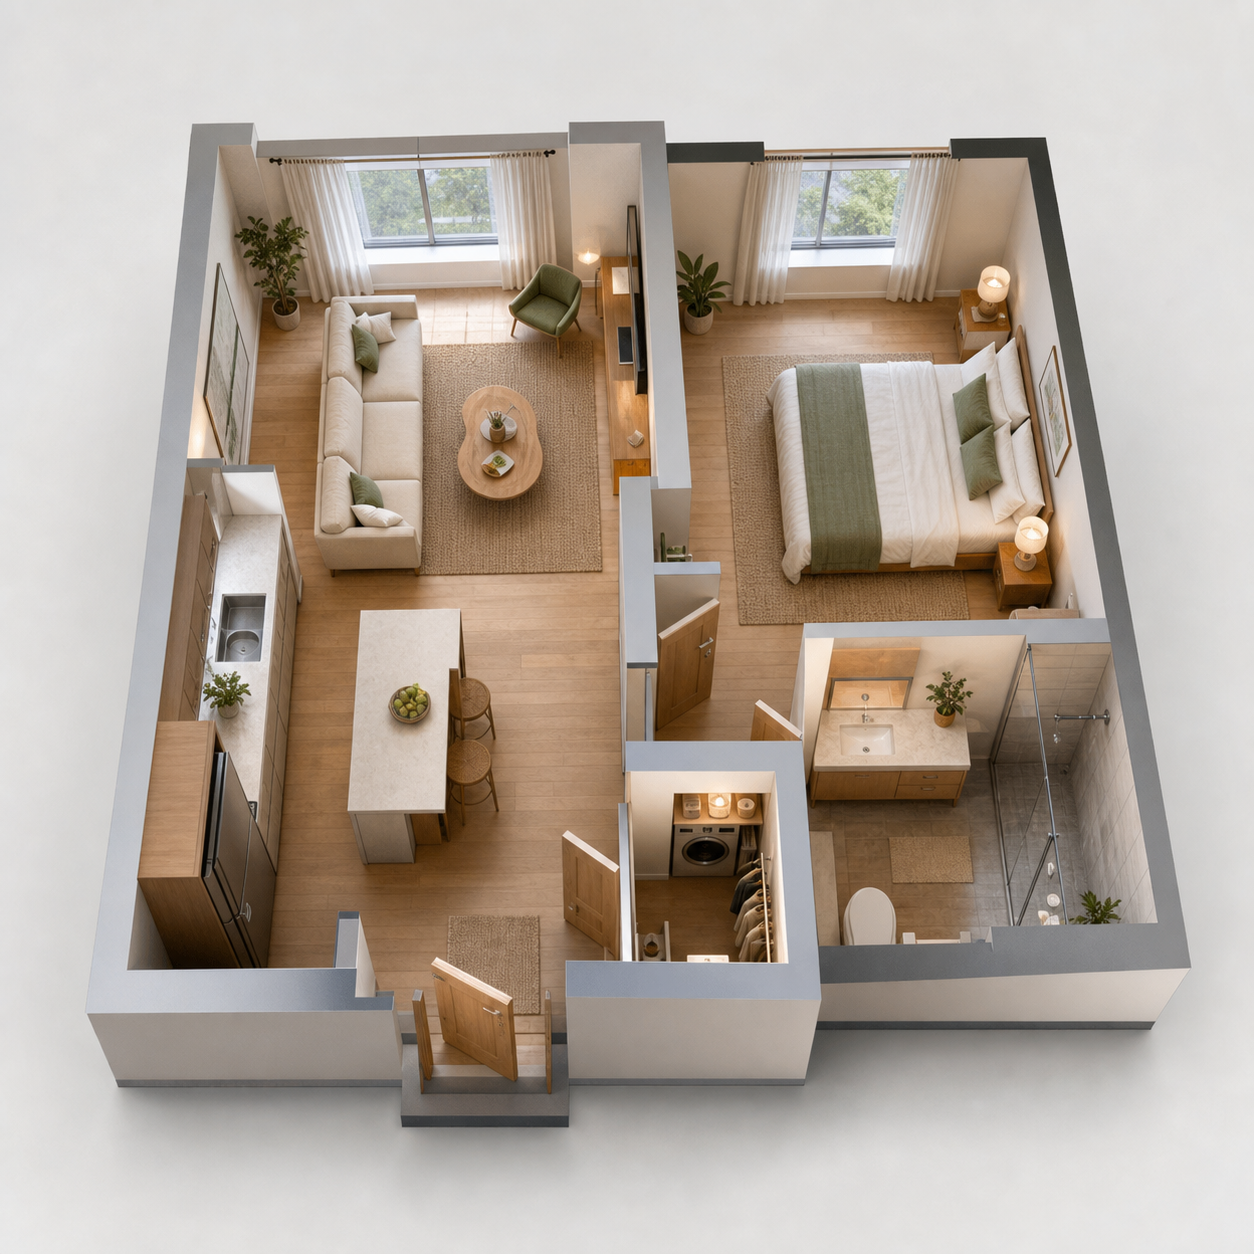
- Staged/original comparison: where appropriate and clearly disclosed, a visualization of room scale.
- Short-form FAQ: answer one real question about the layout, location, or showing process.
- Post-tour recap: a final update, price change, or "still available" asset grounded in current facts.
Make them in the right order
Do not make all twelve from scratch. Produce them in a sequence that creates reusable building blocks:
- Approve the facts, photos, and buyer-focused brief.
- Select the six to ten hero images and make the main reel.
- Pull stills and copy from that reel for the carousel and Story sequence.
- Adapt the same message for the email and buyer follow-up.
- Create the time-sensitive open-house and price-change versions from the approved template.
This is where a listing URL or photo folder becomes useful: it is an intake point, not just a destination. A tool such as Propscene's listing-reel workflow can turn the approved images into the campaign's visual master while you keep the facts under human review.
Give every asset a short review
- Is the price, status, address, open-house time, and agent information current?
- Do you own or have permission to use each image, clip, map, or floor plan?
- Does the copy avoid unsupported claims and comply with your brokerage's advertising guidelines?
- Are virtually staged or altered visuals disclosed correctly for the intended medium?
- Can a buyer understand the action to take next?
Do less, better
You do not have to publish all twelve assets for every listing. The checklist helps you choose what is useful. For a quick launch, start with the hero reel, carousel, open-house post, and email. For a luxury or complex property, add the longer walkthrough, floor plan, and local-context content.
To create the campaign's central video, use the photo-to-reel workflow. For ready-to-adapt copy, keep 30 real estate reel hooks and captions nearby.