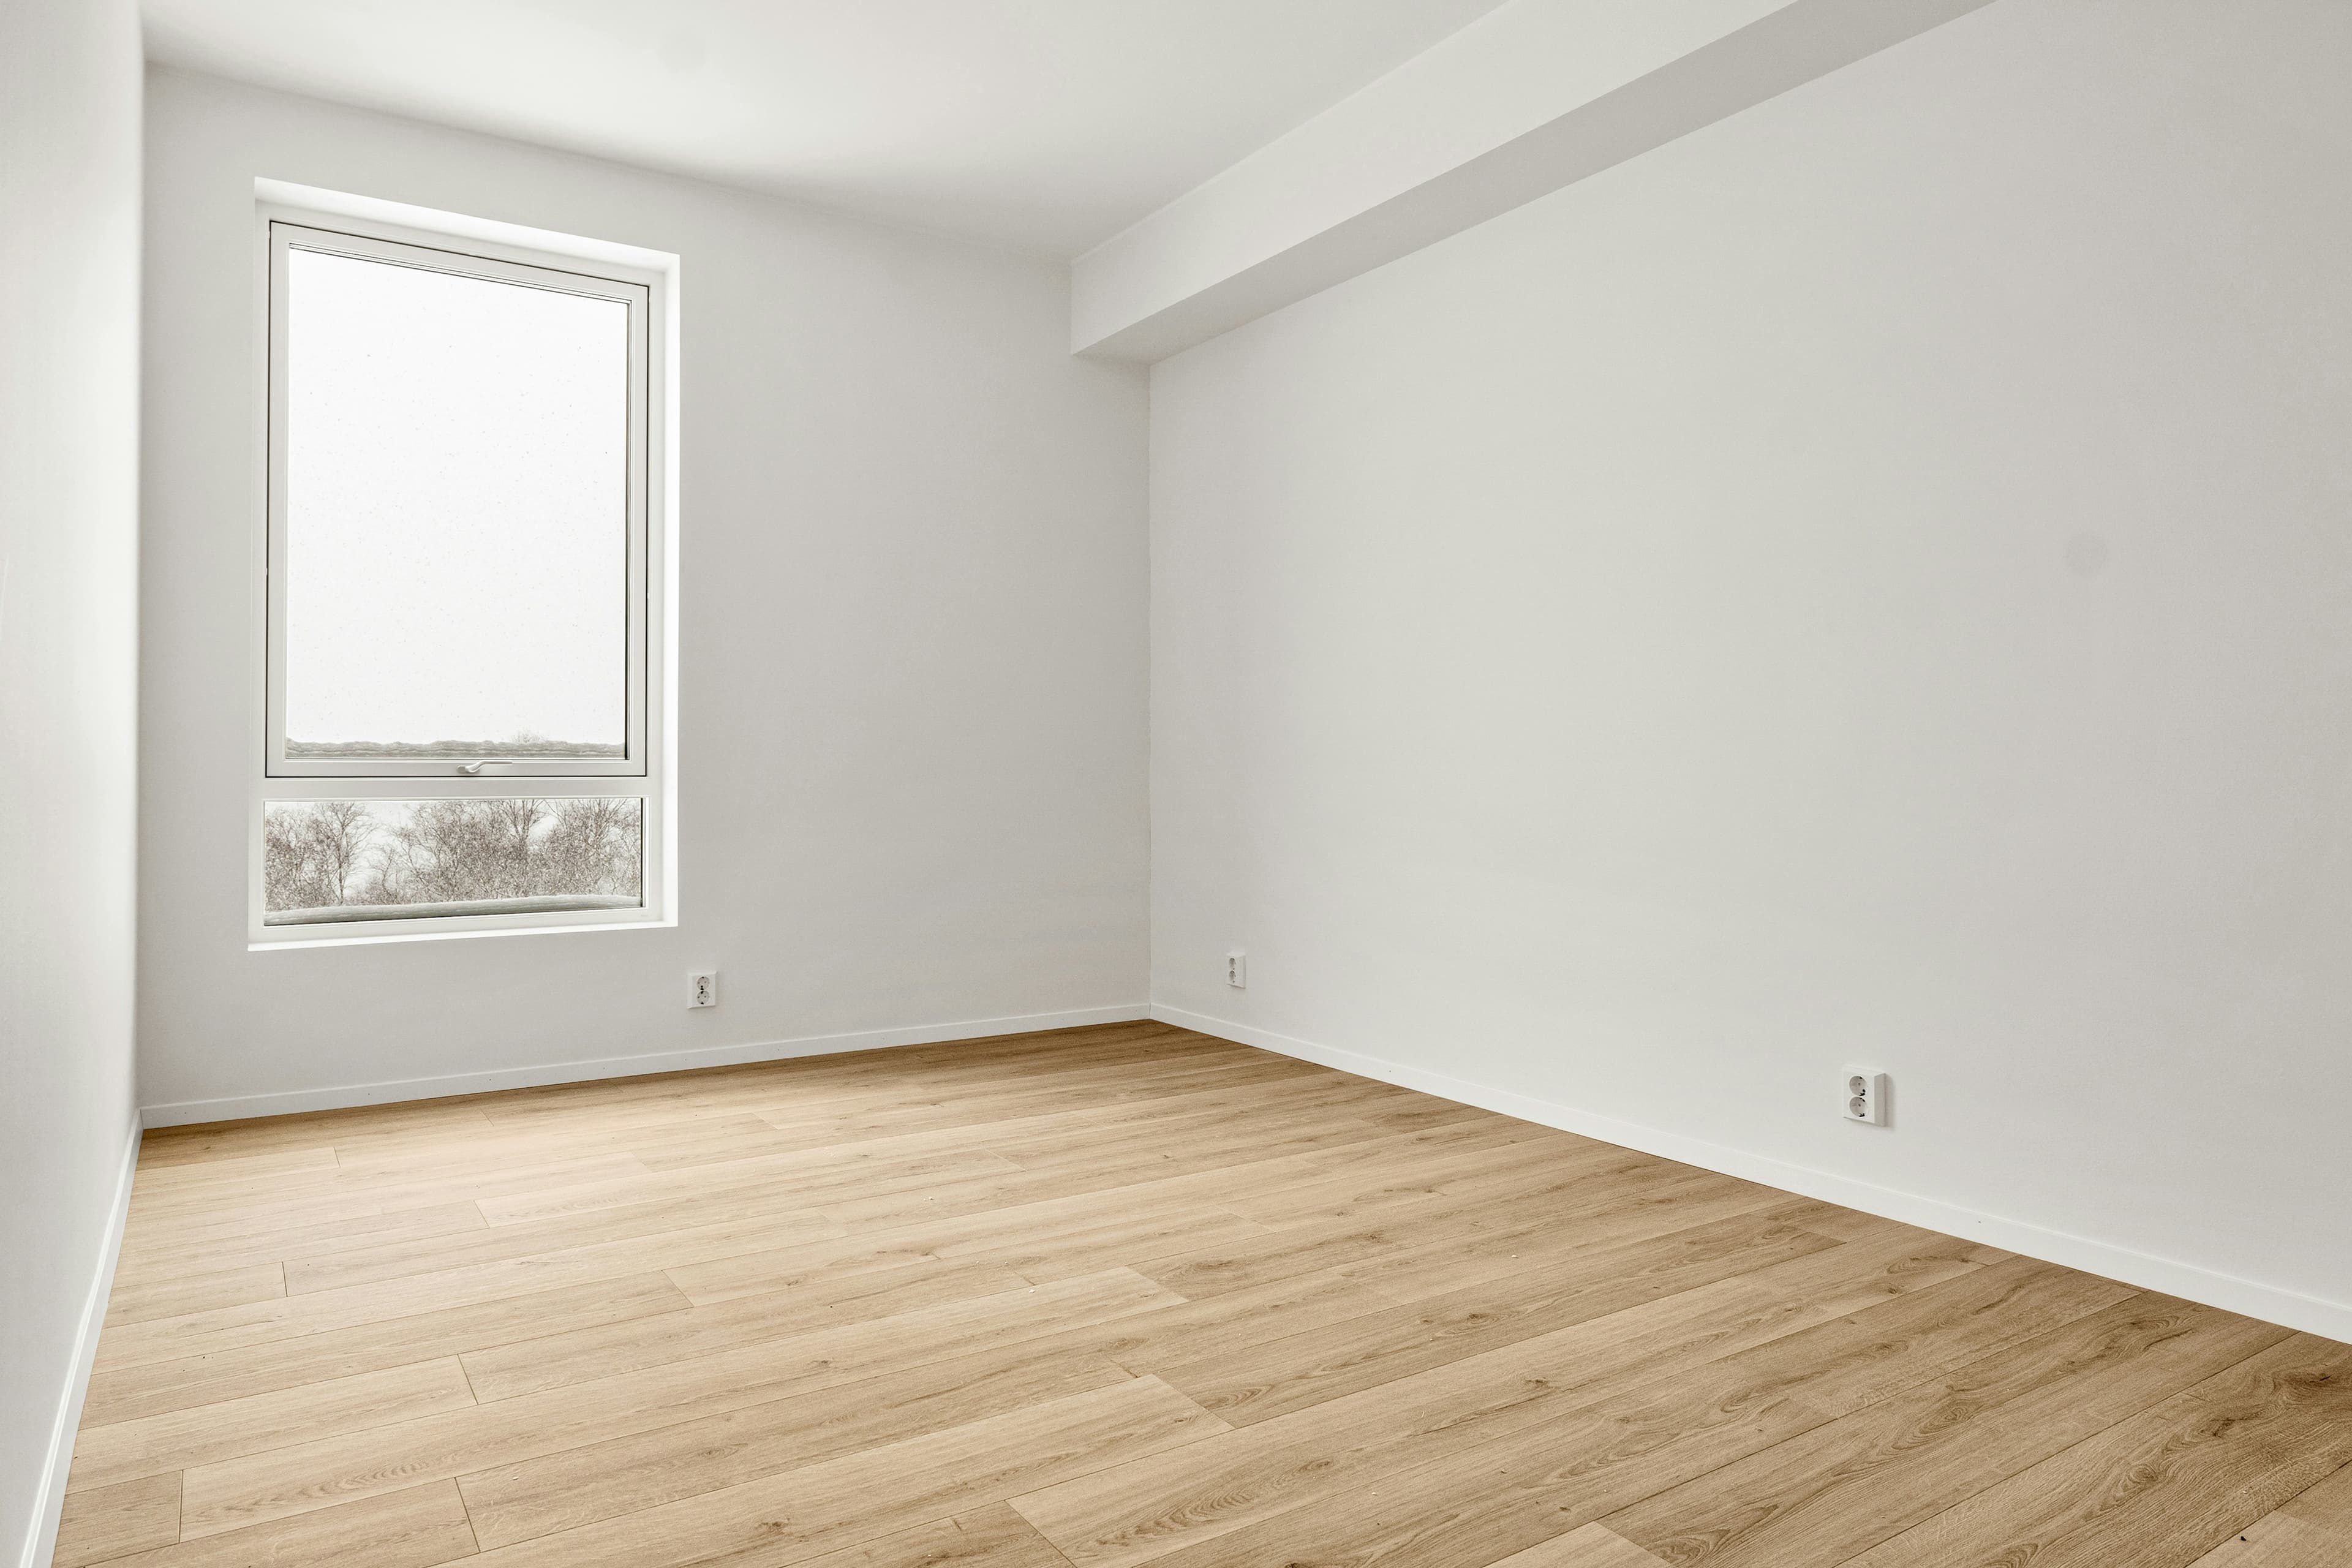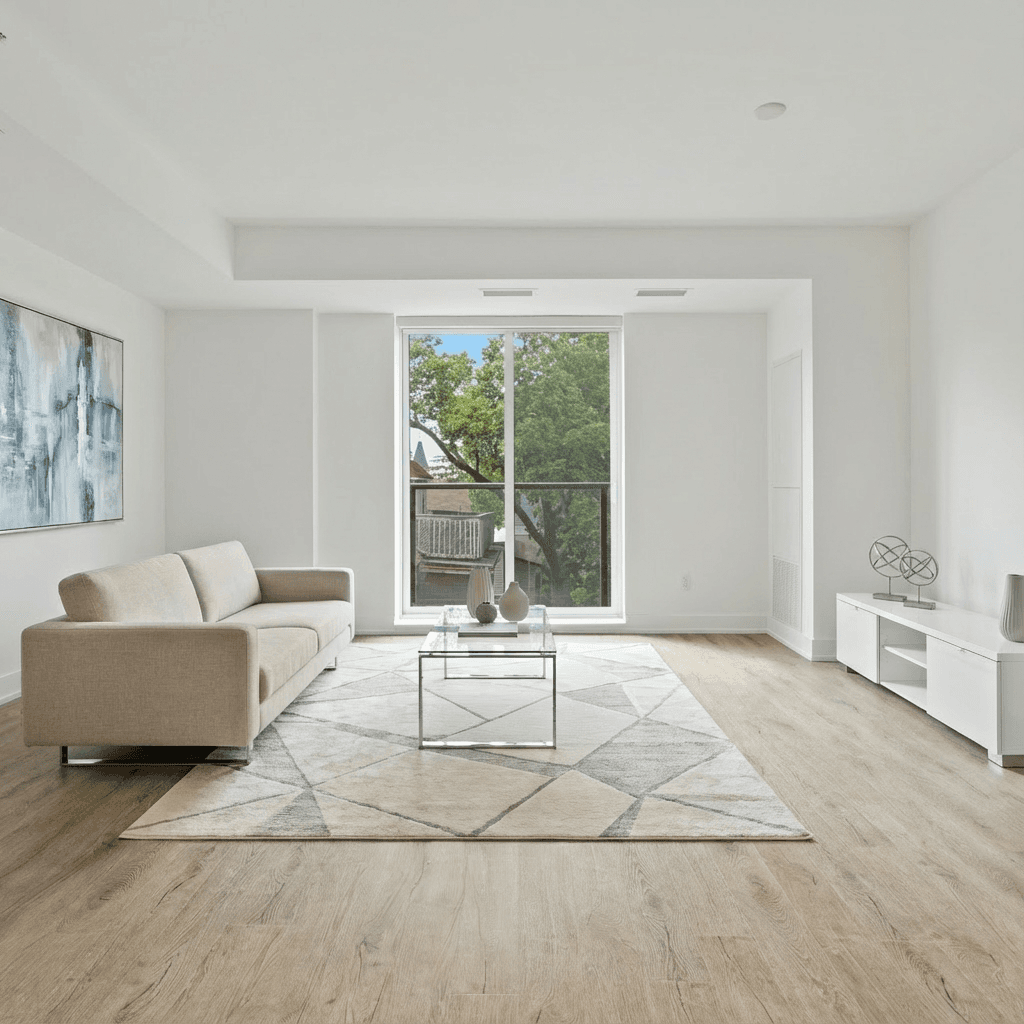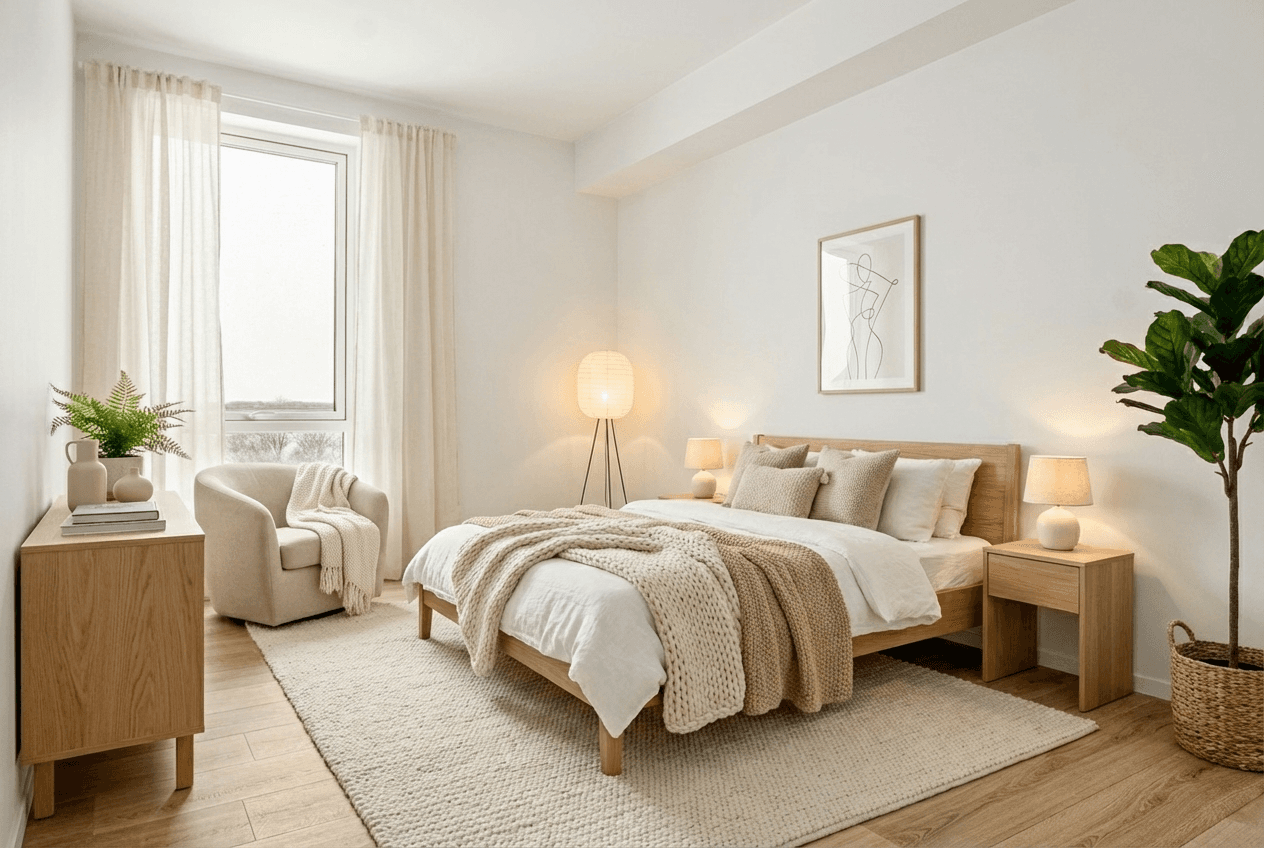
A virtual staging video can help a buyer understand an empty room in a way a still image cannot. It also adds a responsibility: the visual needs to show a plausible use of the actual space, not turn a listing into a fictional renovation or an undisclosed lifestyle promise.
What a good virtual staging video does
A good video answers practical questions: Where would a sofa fit? Is there room to eat, work, and relax? How does the bedroom relate to the window? It preserves perspective, uses furniture at a believable scale, and makes it clear when the furnishings are illustrative.
It does not add permanent features, hide condition issues, or imply that the furnished state will be present at a showing. Start with the physical room; use design as explanation.
1. Choose rooms where visualization solves a real question
The best candidates are often a vacant living room, a primary bedroom, an unusual flex room, or a dining area whose scale is hard to understand. Do not stage every image by default. Prioritize the spaces where furniture clarifies layout and lets a buyer picture daily life.
For an occupied home, remove clutter only where permitted and transparent. An untouched original photo can be more persuasive than an over-edited one because it establishes trust before the concept image appears.
2. Stage with restraint
- Match the furniture scale to visible doors, windows, and room dimensions.
- Choose a style that supports the architecture rather than a trend that fights it.
- Keep paths and sightlines clear so buyers can read circulation.
- Use enough furniture to explain a room's purpose, not so much that it hides the floor plan.
- Preserve the actual view, lighting direction, and fixed features.
Use our staging styles guide to choose a visual direction that fits the property rather than treating every listing as the same generic set.
3. Build a transparent sequence
One helpful structure is: original room → labelled staged concept → subtle motion clip → original again or a note that directs the viewer to the original. This makes the change explicit and lets a buyer compare the visualization with the actual space.
If a video includes multiple altered rooms, label the altered segments consistently. Keep the label readable on mobile and long enough to be noticed. Check your local rules before deciding whether on-video text, image description, adjacent original, or another disclosure method is required.
4. Let motion reveal, not distort
Slow zooms, room pans, and gentle pushes can make a still image feel more navigable. They should not introduce impossible camera movement, reshape corners, or pull the viewer through a wall. The more realistic and understated the motion, the easier it is for the visual to support the listing instead of distracting from it.
5. Publish the video as part of an honest listing set
Use the original photos in the listing gallery, the floor plan where available, and accurate room dimensions. The video can invite the viewer to imagine an arrangement; the full set should make it easy to evaluate the actual home. This hybrid approach is useful for MLS, listing sites, social posts, and seller presentations alike.
Virtual staging video checklist
- Original photos retained and ready to show.
- Furniture and décor are plausible, proportional, and not included-property claims.
- No structural, condition, view, or permanent-feature changes.
- Altered images and clips labelled according to the relevant rule.
- Disclosure is visible where the video is viewed—not only in a file name.
- Caption, agent information, and CTA are accurate at the time of posting.
For a fuller compliance review, start with virtual staging disclosure rules. When the visuals are ready, walkthrough reels can turn a staged image into a motion-led social asset while keeping the listing story in one workflow.